Broccoli microgreens, with their robust flavor and remarkable nutrition, are an excellent enhancement to any dish, be it salads, sandwiches, or even smoothies. As miniature versions of mature broccoli plants, these sprouts can easily be grown indoors, allowing for year-round enjoyment. In fact, eating broccoli microgreens is not just a culinary delight but a health boost. Let’s dive into a simplified guide on how to grow these tiny green wonders at home.
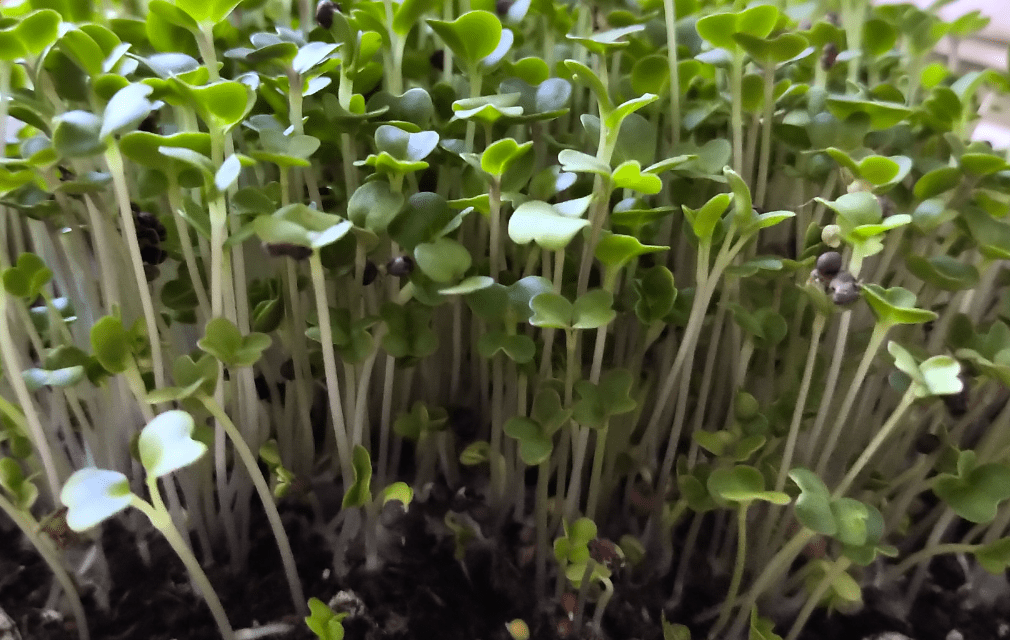
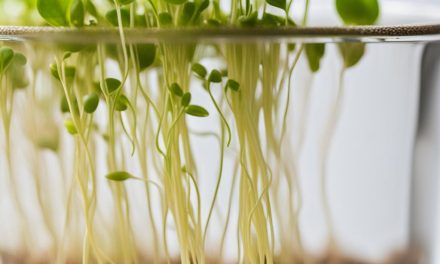
Firstly, you’ll need broccoli microgreens seeds. Don’t be alarmed if you notice a white fiber appearing as they grow – this is the root hair, a common sight in many sprouts. The beauty of broccoli sprouts is that they’re ready to harvest just 12 hours before they reach their nutritional peak. When the time comes to reap your crop, simply cut the microgreens and add them to your meal of choice for an extra burst of flavor and health. Remember, what you’re eating is essentially a compact powerhouse of the goodness found in mature broccoli, only in a much smaller package.
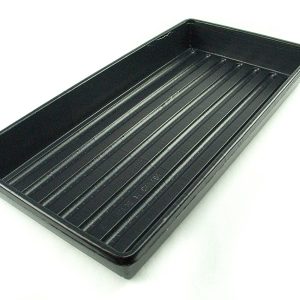
- Gather your supplies: The first thing you’ll need to do is gather all of the supplies you’ll need to grow your broccoli microgreens. You’ll need some broccoli seeds, a tray or container with drainage holes, a growing medium (such as soil or coconut coir), and a watering can or spray bottle.
- Choose your growing medium: There are a few different options when it comes to the growing medium for your broccoli microgreens. Soil is a classic choice, but it can be heavy and may contain pests or diseases that could harm your plants. An alternative option is coconut coir, which is a sustainable and lightweight material made from coconut husks. It’s a great choice for growing microgreens because it holds moisture well and is free from pests and diseases.
- Prepare your tray: Once you’ve chosen your growing medium, it’s time to fill your tray with it. Depending on the size of your tray, you may need to mix the growing medium with some water to get it to the right consistency. You’ll want the medium to be evenly damp but not waterlogged, so be sure not to add too much water. Once your tray is filled and moistened, it’s time to move on to the next step.
- Sow the seeds: Scatter your broccoli seeds evenly over the surface of the growing medium in your tray. You don’t need to cover them with soil, as the seeds will germinate in the light. Try to space the seeds out as evenly as possible to ensure that your microgreens will grow uniformly.
- Water the seeds: Once you’ve sown your seeds, it’s important to keep them moist in order to encourage germination. Mist the seeds lightly with water using a watering can or spray bottle. You’ll want to keep the seeds moist but not waterlogged, so be sure not to over-water them. If the seeds dry out, they may not germinate at all.
 Place the tray in a sunny spot: Find a sunny spot in your home where your tray can receive at least 6 hours of indirect sunlight per day. A south-facing window is a great option. If you don’t have a window that gets enough sunlight, you can also use a grow light to provide the necessary light for your microgreens.
- Keep the seeds moist: As your seeds start to germinate, it’s important to keep the soil evenly damp. Check on your seeds daily and water them as needed to keep the soil moist. Avoid letting the soil dry out completely, as this can cause the seeds to die. You can also use a spray bottle to mist the surface of the soil if it starts to dry out.
- Fertilize your microgreens: As your microgreens start to grow, you may want to fertilize them to give them an extra boost of nutrients. A balanced liquid fertilizer, applied at half strength, should do the trick. Just be sure not to over-fertilize, as this can cause the microgreens to become bitter.
- Thin out your microgreens: As your microgreens start to grow, you may need to thin them out to allow for proper air circulation and light penetration.
- Keep the seeds moist: As your seeds start to germinate, it’s important to keep the soil evenly damp. Check on your seeds daily and water them as needed to keep the soil moist. Avoid letting the soil dry out completely, as this can cause the seeds to die. You can also use a spray bottle to mist the surface of the soil if it starts to dry out.
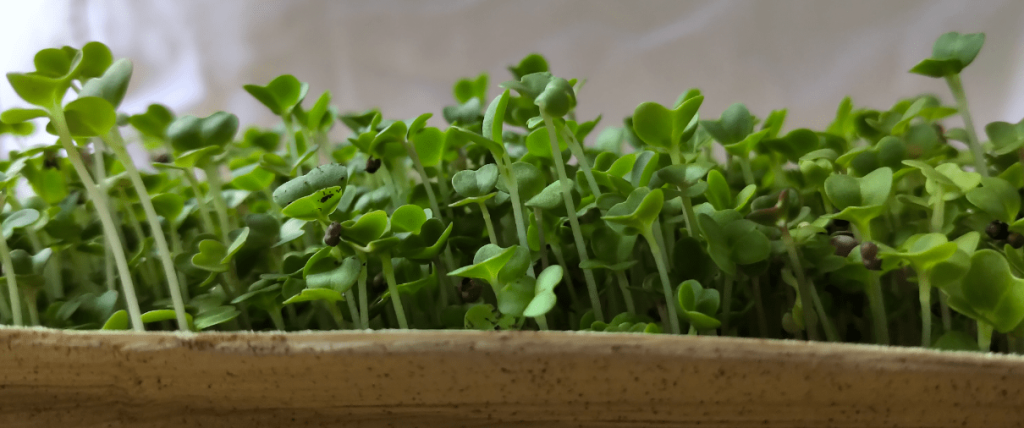
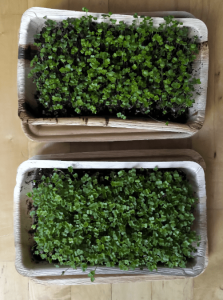
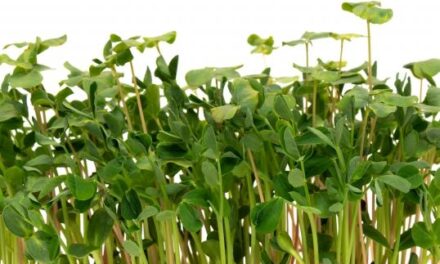
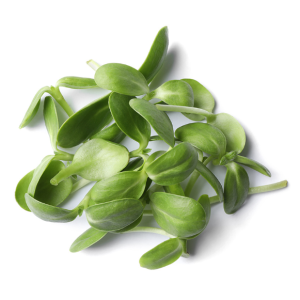
- Harvest your microgreens: In about 1-2 weeks, your broccoli microgreens will be ready to harvest. They should be about 2-3 inches tall and have a few sets of true leaves. Simply cut the greens at soil level using scissors or a sharp knife. Be sure to leave some of the seeds behind so that you can continue to harvest from the tray.
- Enjoy your microgreens: Once you’ve harvested your broccoli microgreens, they’re ready to eat! You can add them to salads, sandwiches, and smoothies.
Growing broccoli microgreens at home is a simple and rewarding way to add a nutritious and flavorful boost to your meals. With just a few supplies and a little bit of care, you can enjoy these tiny greens all year round.


