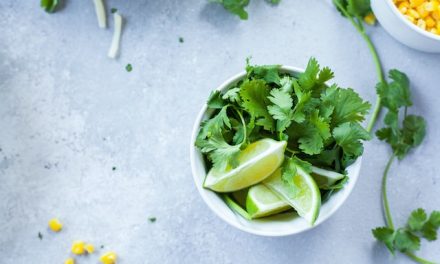
Many gourmet chefs and fine restaurants now include microgreens on menu items. or the produce section of a specialty grocery store may also offer select varieties of microgreens. These tiny, delicate greens add texture and flavor to any food, as well as many nutritional benefits.
These highly nutritious greens can contain more than 50 times to nutrients than full-size vegetables. Microgreens are often expensive purchased ready to eat. However, they can also be grown quite easily and cost-effectively at home, without much space, and with everyday household materials. A sunny spot in your house, a shallow container, some potting mix, and microgreen seeds are all that is needed. It makes a great choice of crop for urban gardeners who are often limited by space to a kitchen shelf, balcony or fire escape steps.
What are microgreens?
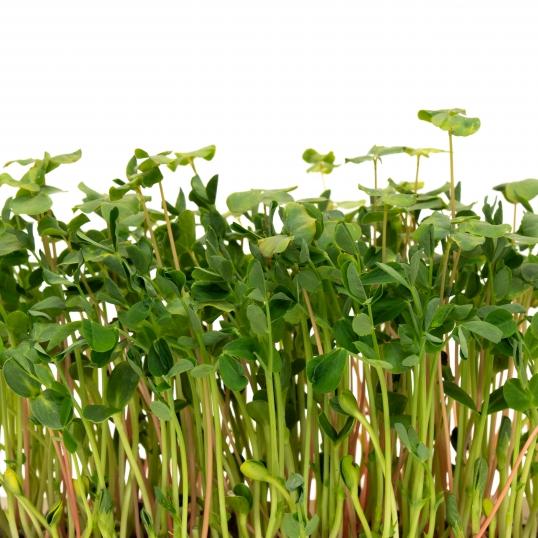
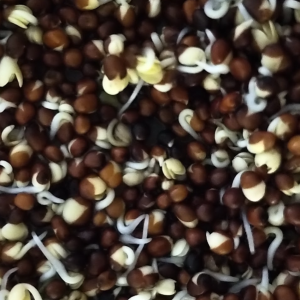
Sometimes referred to as “vegetable confetti,” microgreens are often confused with sprouts — that are eaten root, seed, and shoot. The main difference with sprouts is that they are grown in water and microgreens are grown in soil. Microgreens include a variety of edible immature greens, harvested with scissors usually a couple of weeks after germination when the plants are around 2 inches tall. The stem, cotyledons (or seed leaves) are all edible and safe to eat.
Which seeds are best to start with?
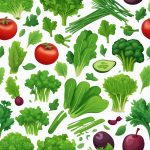
Microgreens come in various seeds, from fresh leafy vegetables to salad greens and herbs and even some edible flowers can be grown as microgreens. Beginners often start by growing one type of seed, such as broccoli, sunflower, or buckwheat as these are probably the easiest-to-grow varieties.
Here at the Fresh Greens Company, we also offer salad green mixes that combine greens with similar growth rates, compatible flavors, and beautiful coloring including reds, purples, and greens. Since they were created with grower success in mind, they’re also a good choice for beginners.
In suitable climates, microgreens can be also be grown outdoors under shade. Just like all fragile seedlings, you’ll need to protect them from weather extremes and invasive pests.
Where shall I begin?
A sunny windowsill, especially a south-facing window is the best place to grow your microgreens and all you need is a small, clean container. Plastic take-out dishes and disposable pie plates work well, as do clear fruit or salad boxes. If you are unsure, you can also purchase one of our microgreens grow kits. Then, prepare to plant the seeds as follows:
Steps
- Check the type of seed you are planting to see if there are any specific instructions. Some seeds may have done well will a soak in water for a few hours.
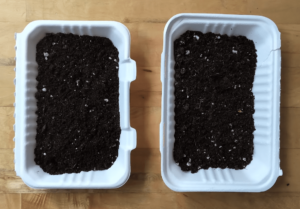 Fill the bottom of the container with an inch or two of moistened potting soil or mix. Flatten and level it with your hand or a small piece of cardboard, taking care not to over-compress the soil too much.
- Scatter seeds evenly on top of the soil. Press the seeds gently into the soil using your hand or the cardboard.
- Dampen the surface by spraying with water. It is also a good idea to cover the seeds with some cardboard to prevent light from getting through and to keep the moisture in.
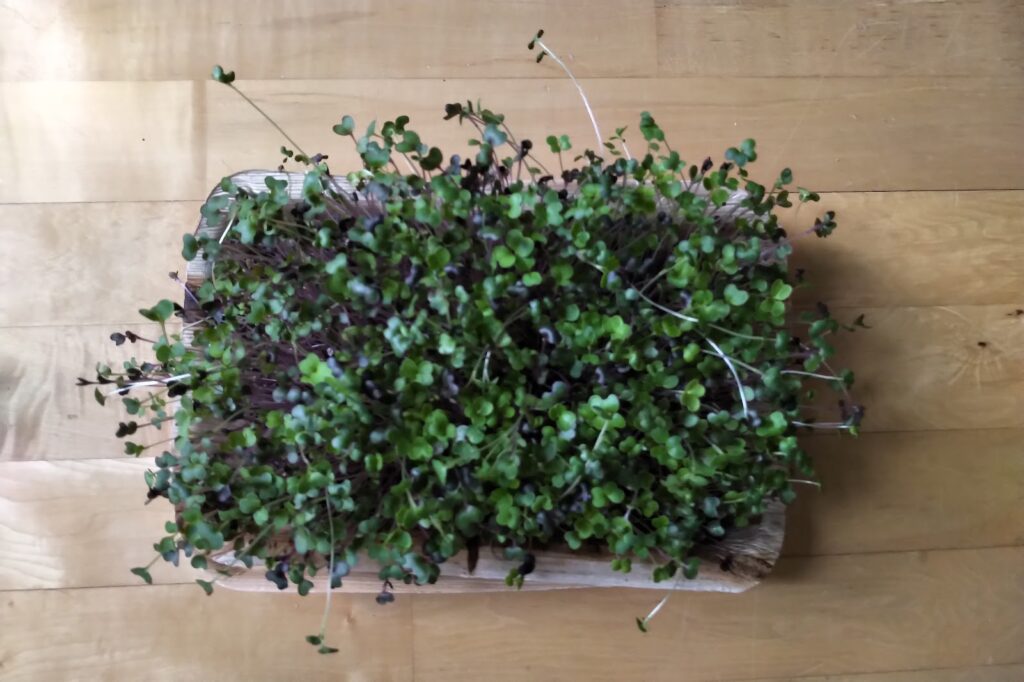
- Sprouts will start to appear usually within three to seven days, use the water mister once or twice daily to keep the soil moist but not wet.
- Once seeds have sprouted, remove the cover (if you’ve used one) and continue to mist once or twice a day.
Microgreens need about four hours daily of direct sunlight to thrive. Many species can even be grown in shade. In the winter months, some may need even more light to grow. Leggy, pale greens are a sign of not enough sunlight. Light needs can also be satisfied with an LED grow light.


Excellent post. I definitely appreciate this website. Thanks!