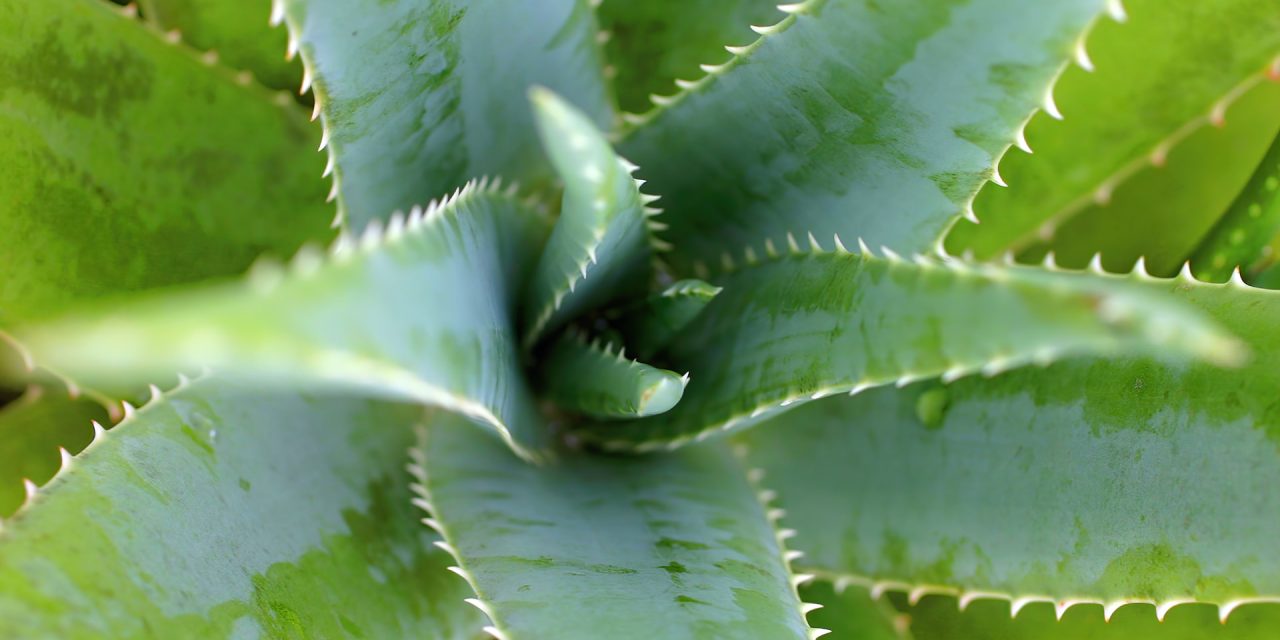
Aloe plants are known for their healing properties and beautiful appearance. They are a popular choice for indoor and outdoor gardening and are easy to grow. However, sometimes the need arises to transplant an aloe plant. This can be because the plant has outgrown its current pot or location, or because it needs to be separated from its parent plant. Whatever the reason, transplanting an aloe plant can be a little intimidating for beginners. But don’t worry, in this article, we will go over the steps involved in transplanting an aloe plant.
Choose the right time to transplant
The best time to transplant an aloe plant is during the spring or early summer. This is when the plant is actively growing and can quickly adapt to its new environment. Avoid transplanting during the fall or winter when the plant is dormant.
Choose the right pot
The pot you choose for your aloe plant should be slightly larger than its current pot. The new pot should have drainage holes to prevent waterlogging. A terra cotta pot is a good choice as it is porous and allows excess water to evaporate. Make sure the pot is clean and has been thoroughly washed to prevent any disease or pest transmission.
Prepare the new pot
Before transplanting your aloe plant, prepare the new pot by adding a layer of gravel or small stones at the bottom. This will help with drainage and prevent waterlogging. Fill the pot with fresh potting mix. A good potting mix for aloe plants should be well-draining and contain sand or perlite to increase drainage. Do not use garden soil as it is too heavy and can retain too much moisture.
Remove the aloe plant from its current pot
Gently remove the aloe plant from its current pot. You may need to tilt the pot and gently tap the sides to loosen the plant. Be careful not to damage the roots. If the plant is stuck, run a knife along the inside of the pot to loosen it.
Inspect the roots
Inspect the roots of the aloe plant. Healthy roots should be white or light brown in color and firm to the touch. If you notice any black or brown roots, they may be damaged or rotted. Carefully trim away any damaged or rotted roots with a clean pair of scissors or garden shears.
Plant the aloe plant in the new pot
Place the aloe plant in the center of the new pot and fill in the gaps with fresh potting mix. Gently pat the soil down around the plant to ensure it is stable. Leave a little space at the top of the pot to allow for watering.
Water the plant
Water the aloe plant thoroughly after transplanting. Water until the excess starts to drain out of the bottom of the pot. Do not water again until the soil has completely dried out. Overwatering can lead to root rot.
Place the plant in a new location
If you are transplanting your aloe plant to a new location, choose a spot that receives bright, indirect sunlight. Avoid direct sunlight as it can scorch the plant. Aloe plants prefer warm temperatures, so keep them away from cold drafts or extreme heat.
Care for the plant
After transplanting your aloe plant, it is important to care for it properly. Aloe plants are low-maintenance and do not require frequent watering. Water the plant deeply but infrequently, allowing the soil to dry out between waterings. Fertilize the plant once a month with a balanced fertilizer during the growing season. Prune any dead or yellow leaves to encourage new growth.


